 METROLORE Docs
- Docs
- Gameplay Camera
- Studio
M2Line M2 · Gameplay CameraView in store →
Studio
Press Enter with the camera open to get the studio panel. Drag its top bar to move it, and use the slider at the bottom to set its transparency; both are remembered. While the panel is open the mouse belongs to the panel. Press ESC or the X to go back to the camera.
The header shows your role. The tabs depend on the role: everyone sees Photo and Path; press crews and directors see more (see Roles and permissions).
#Photo
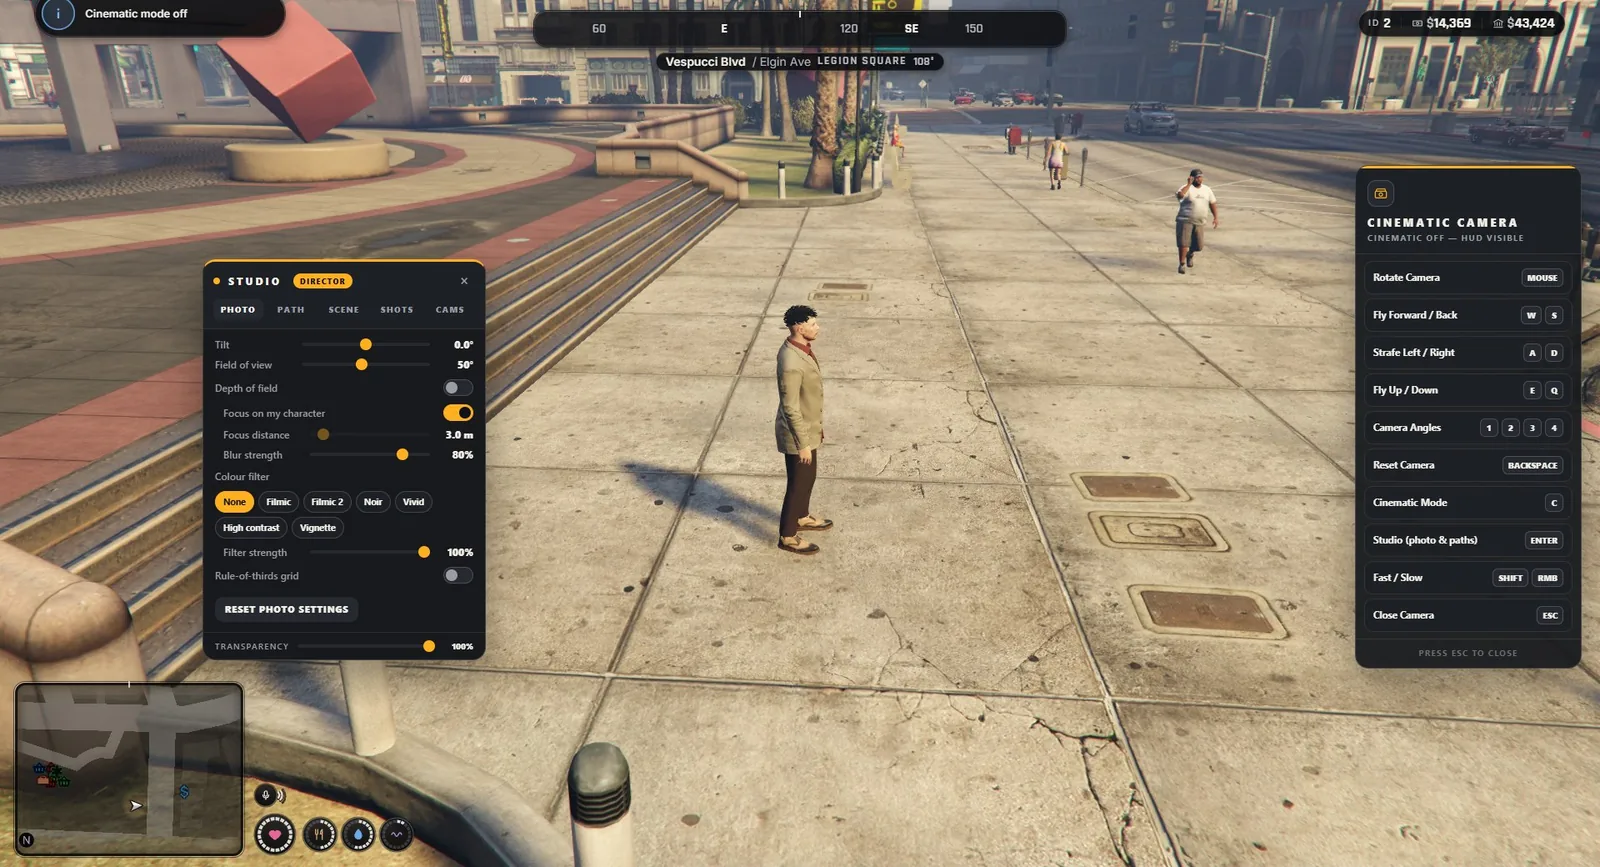
The Photo tab changes how the picture looks.
| Setting | What it does |
|---|---|
| Tilt | Rolls the camera, from -45 to 45 degrees. |
| Field of view | Zooms in and out (15 to 90 degrees). |
| Depth of field | Blurs the background. By default it focuses on your character; turn Focus on my character off to set the focus distance yourself. Blur strength sets how strong the blur is. |
| Colour filter | Seven looks: None, Filmic, Filmic 2, Noir, Vivid, High contrast and Vignette. Filter strength mixes the filter in. |
| Rule-of-thirds grid | Draws the grid as a guide while you frame a shot. It is hidden in cinematic mode. |
Reset photo settings puts everything back.
#Filters
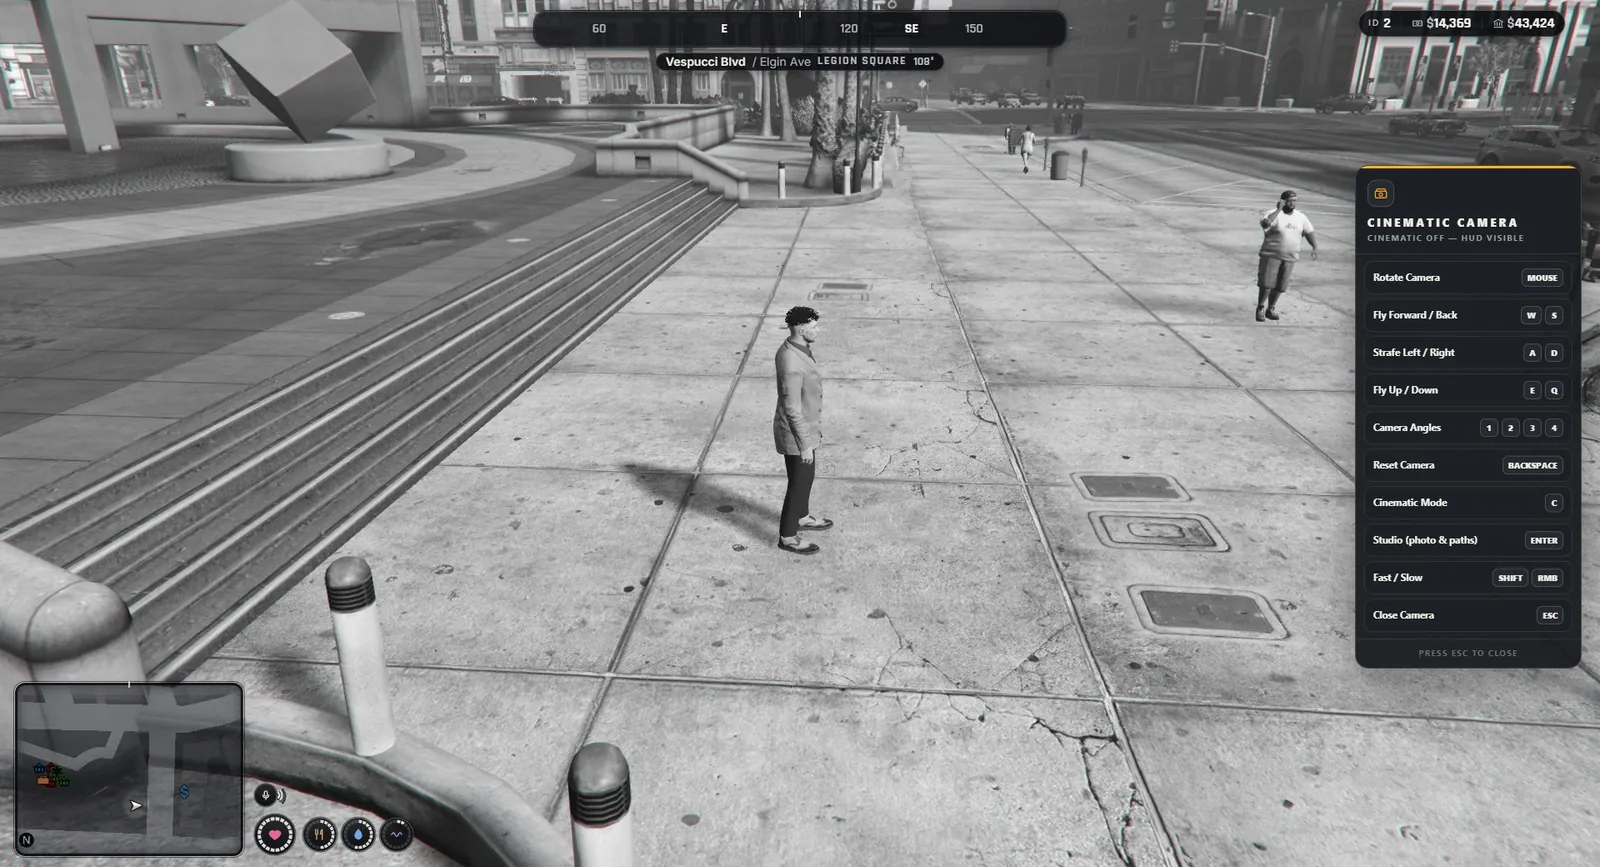
The filters use the game's own colour modifiers. Their names are in Config.Studio.Filters, so you can change them or add your own.
#Depth of field
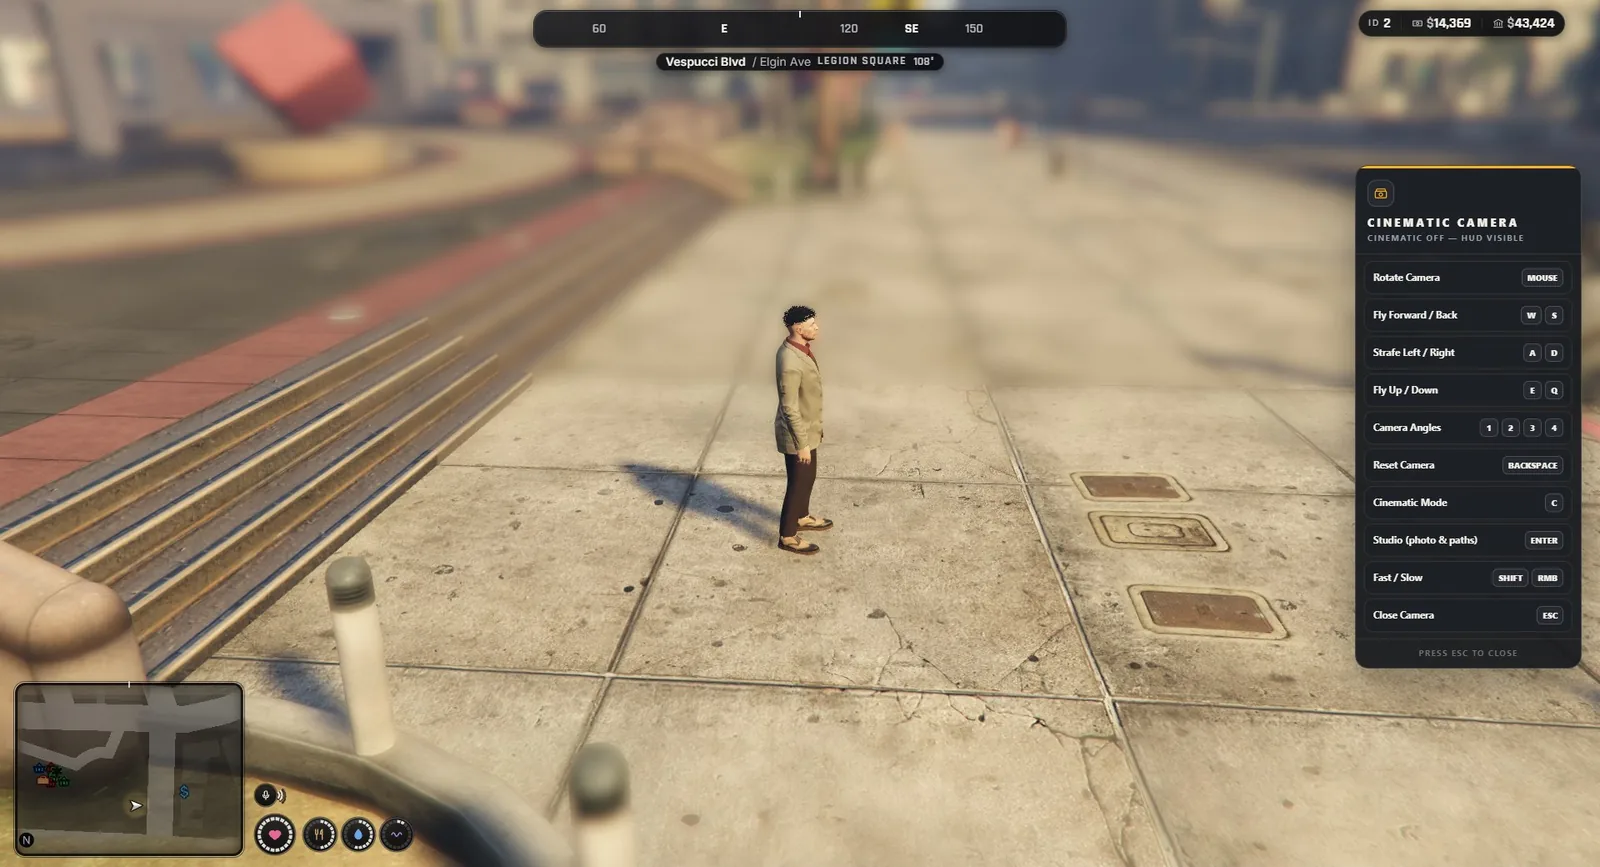
Depth of field follows the distance between the camera and the character, so the character stays sharp while you fly closer or farther away.
#Tilt
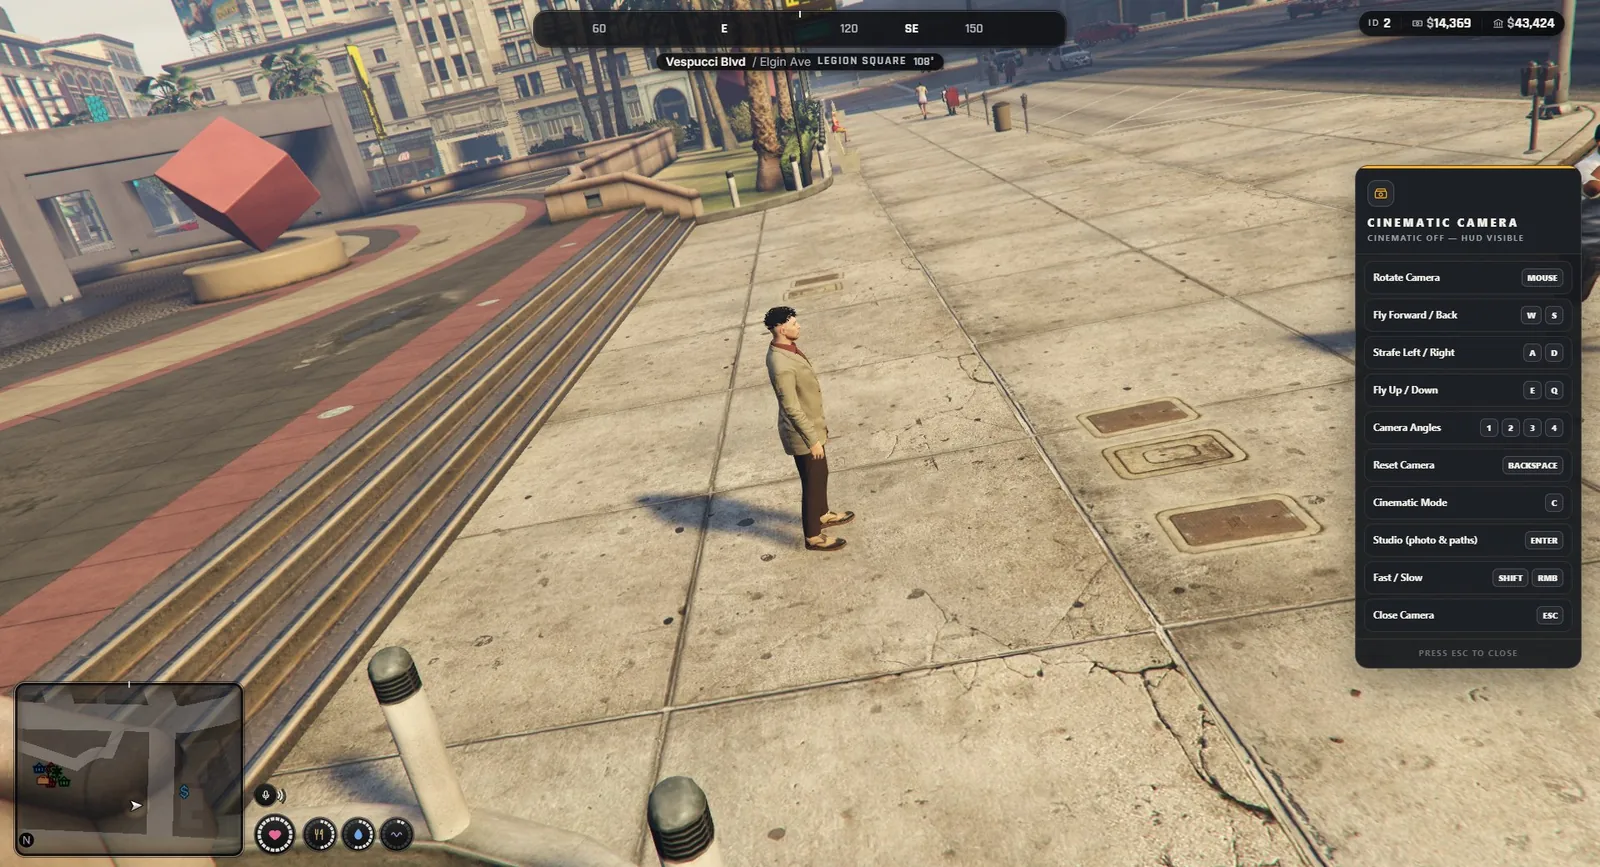
A small tilt (5 to 15 degrees) gives a shot a dynamic look.
#Path
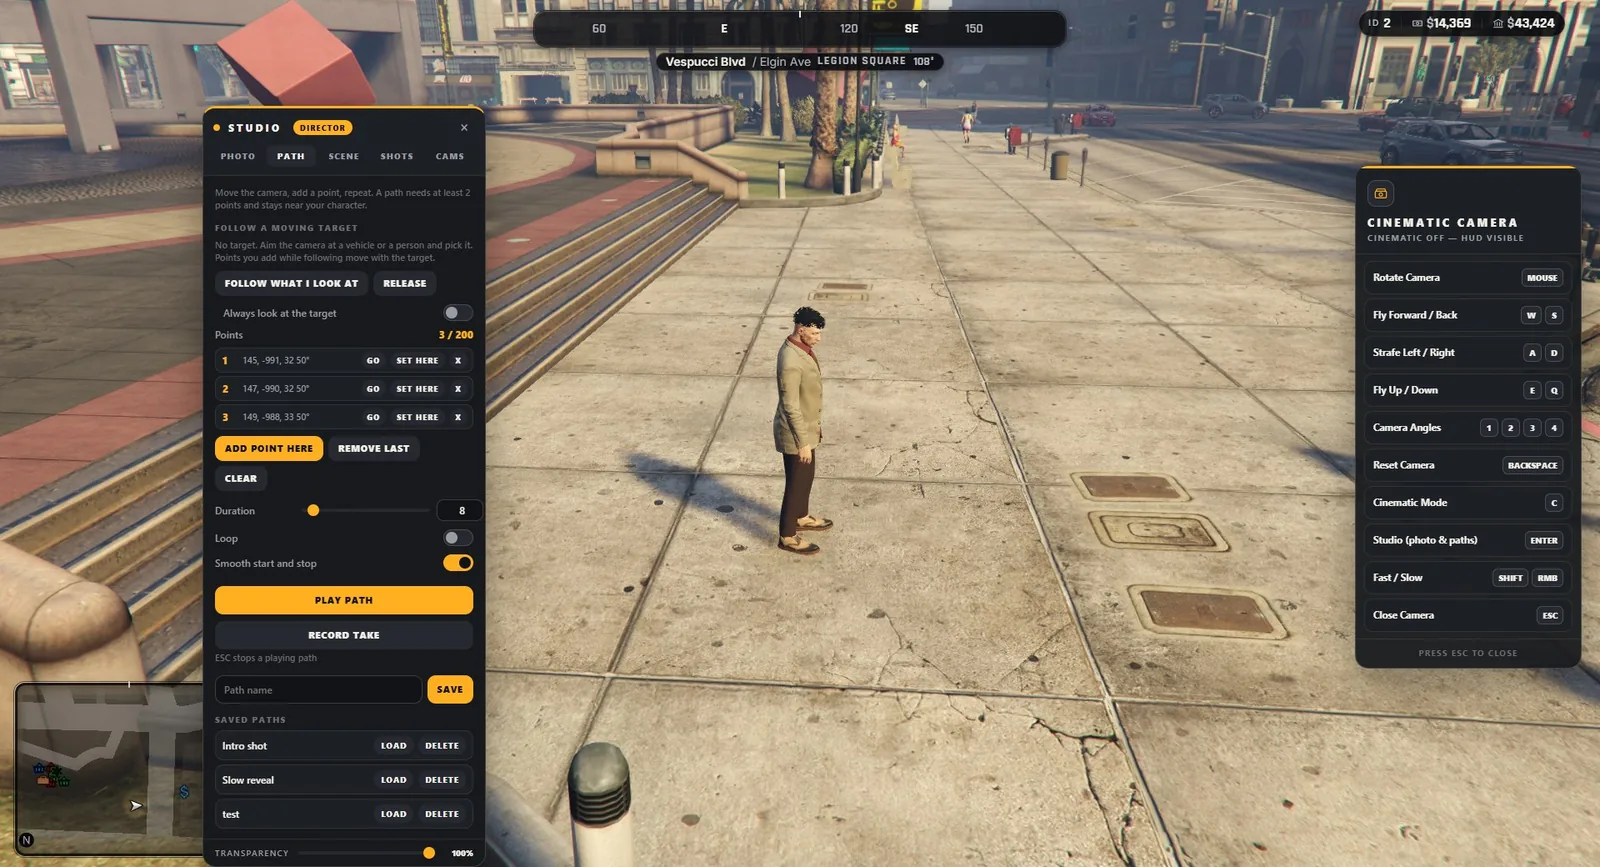
A path is a camera move made of points. The camera flies through the points in order, along a smooth curve.
- Fly the camera to the first place and open the studio. On the Path tab press Add point here.
- Close the studio, fly to the next place, open the studio and press Add point here again. A path needs at least 2 points.
- Set the Duration (type it, or use the slider up to 120 seconds). Loop repeats the path. Smooth start and stop eases in and out.
- Press Play path. The studio closes, the HUD hides and the camera moves. ESC stops it.
Every point has three buttons: Go (move the camera to the point), Set here (replace the point with the current view) and X (remove it). Remove last and Clear work on the whole list.
#Save and load
Type a name and press Save. A saved path remembers where and under which time and weather it was recorded. It is kept on the player's own computer.
A path belongs to the place where it was recorded: a player must be near that place to load it. Directors are taken there automatically.
A path can only contain points inside the distance limit of the role, and the camera cannot leave that area while the path plays.